
Related Resources
Purchase orders are often used for wholesale customers. POs allow you to release orders, then take payment at a later date.
Page Contents
Setting up PO Terms
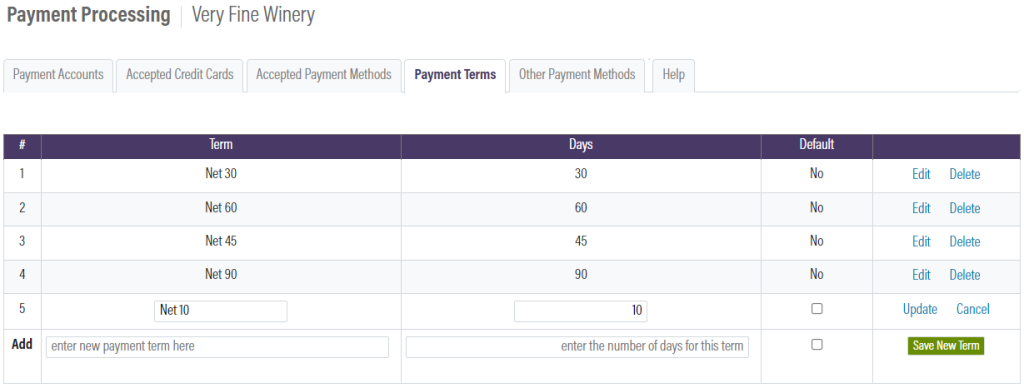
From the Payment Processing module, go to the Payments Terms tab. The terms you set up here will be options you can select at checkout when using purchase orders. Set up your default, and add any additional terms you may want to utilize.
Using a PO as Payment
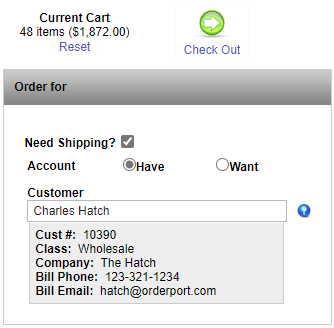
To use purchase orders as payment, open the Admin Cart. You can learn how to use the admin cart in the admin cart lesson, linked in the Related Resources above.
Search for the wholesale account, then add the products. Click checkout.
In the payment information section, select Purchase Order. You will see the option to select a term for your purchase order as well. The PO Number is for reference. You may use whatever you want for the PO numbers, but a consecutive count up may be helpful. Now, you can finish checkout.

Fulfill the order using the fulfillment module. If you need help doing this, please see the Fulfillment Lesson.
Capturing Payment
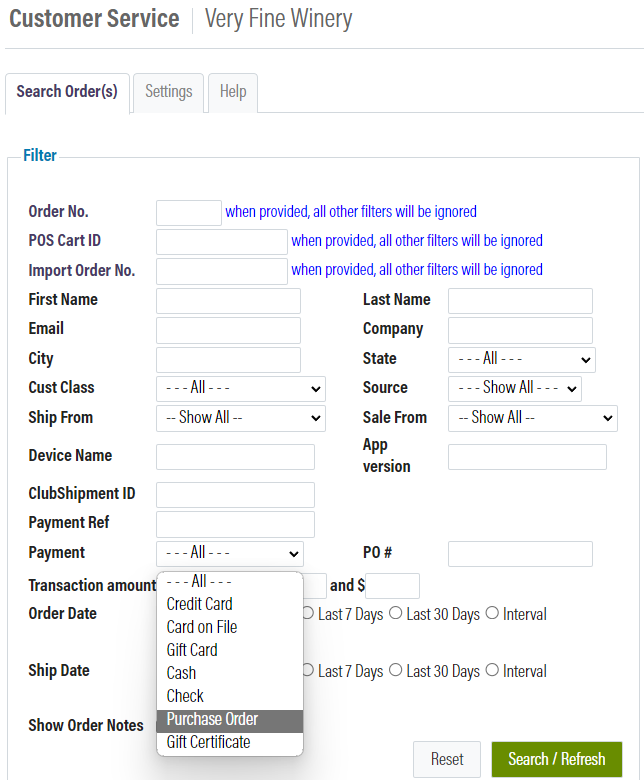
When you are ready to take payment for the purchase order, go to the customer service module. You can quickly find the order by filtering the results by payment type.
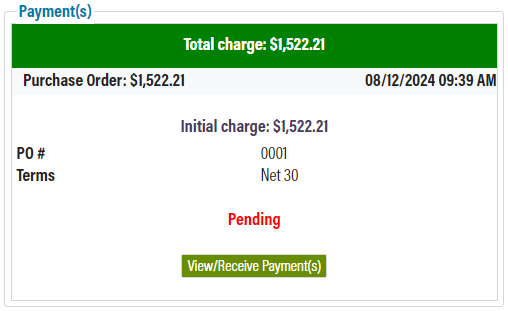
Click the order number, then click View/Receive Payments.
Purchase Order Reports
OrderPort Reports allows you to view a list of all purchase orders that are either on hold or unpaid. Go to the reports module, then go to Standard Reports. Under the other reports tab, you will find the OnHold and UnPaid Orders reports.

For a more customizable report on Purchase Orders, go to My Reports. Click New Report, then select the AR Aging report.

If you decide to change the defaults, you can save the report for later with the Save Report as Template option.
