Related Resources
If your business hosts events, you can sell event tickets. This lesson will cover how to set up event tickets using the Catalog Manager.
Page Contents
Navigating to the Catalog Manager

The Catalog Manager is in OrderPort Admin. Go to orderport.net to login.
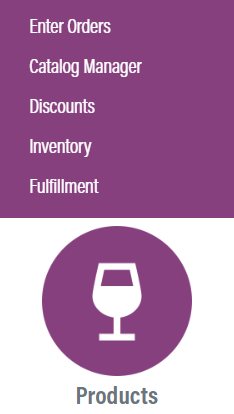
Scroll down to the bottom of the dashboard page, and you will find the Products option.

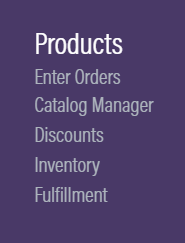
You can also hover over the three lines toward the top right of the dashboard page.
The Catalog Manager is under the Products column.
Creating the Event Ticket
Click New Product.

Under the Product Type dropdown, select Reservation.
Under the Product Category dropdown, select Events. Give the product a Title and a POS Title.

Select the date and time for the event ticket.

Next, turn on real time inventory tracking. If you do not see this option, please reach out to OrderPort support to enable it.

If you’d like to limit the number of tickets that customers can purchase, you can use the basket maximum and the customer account maximum. If you use these options, it will limit how many tickets can be purchased in a single order, or by a single customer.

Set the price using the Retail Price option.

Give club members exclusive discounts by customizing the Customer Class Prices and Discounts section.

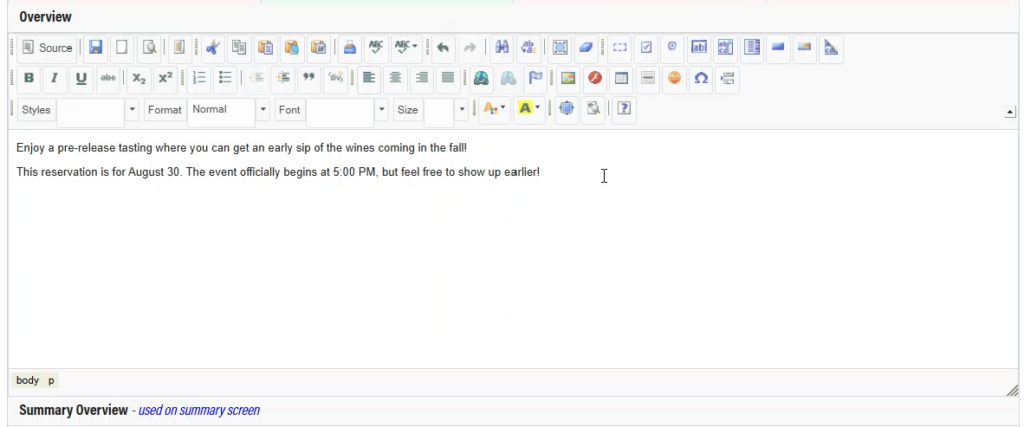
If this product will be listed on your webstore, you can add a description to the product in the Overview and Summary overview sections. The Overview is shown on the product page, while the summary overview is generally shown on the checkout screen.

To have this product available on the webstore, you need to add it to a webstore group. Do this in the Groups tab. If you want to have your tickets in a dedicated group, please reference the groups lesson to guide you through making a new group.

Once you’ve completed all the configuration, go to the status tab and set the status to active. Save the changes.

If you want to sell multiple tickets for different times or dates, you can use the clone feature to set this up quickly. Click Clone Product to do this.

To set the inventory count for the tickets, go to the Inventory module.

You should select the warehouse that is your default ship location.
Search for the new reservation product and input the ticket count. If you don’t have limited tickets, you can set this to a very high number. Save the changes.

Event Ticket Reports
You can run a report to see who has purchased tickets. To do this, go to the Reports module, then go to Standard Reports. Go to the Marketing Reports tab, then run the Sales by Product.


Creating Marketing Lists of Ticket Purchasers
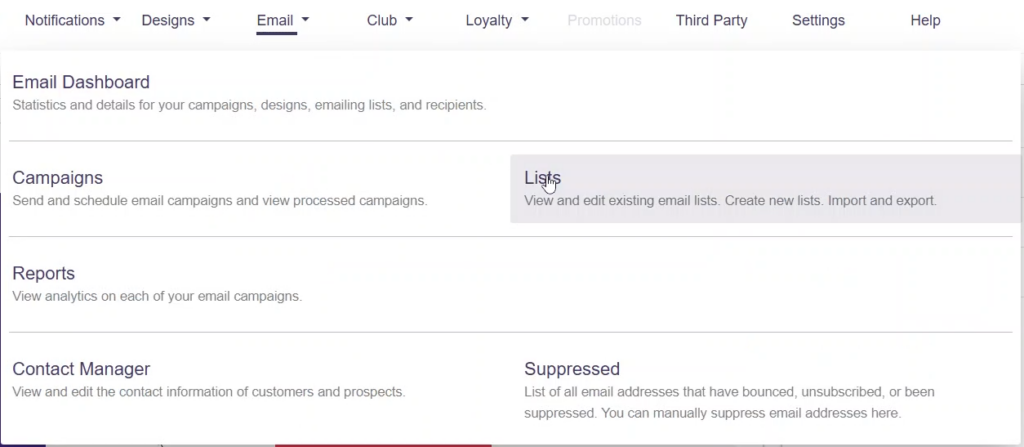
You can create a Marketing list for all event ticket purchasers if your business utilizes OrderPort’s marketing platform. In the Marketing module, open the Emails dropdown and go to the Lists page.

Create a new list and filter it by product purchases.

You can make the list automatically update as new ticket purchases come in by turning on Dynamic List.
When selling a ticket from the Point of Sale, be sure that the order is tied to an account. This allows you to track who purchased the ticket.
