
Related Resources
Creating an item within OrderPort is a simple process, but there are important configuration options that are necessary for proper compliance and shipping procedures.
Page Contents
Opening the Catalog Manager
Go to orderport.net to login.
The Catalog Manager is in the Products category.
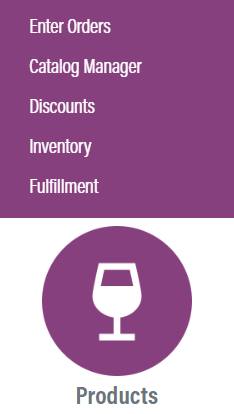
Scroll down to the bottom of the dashboard page, and you will find the Products option. From this menu, click “Catalog Manager”.
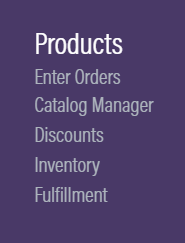
You can also hover over the three lines toward the top right of the dashboard page.
The Catalog Manager is under the Products column.
Creating a New Item
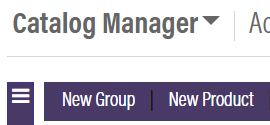
Create a new product by clicking the New Product option in the bar.
There are quite a few configuration options available to you here.
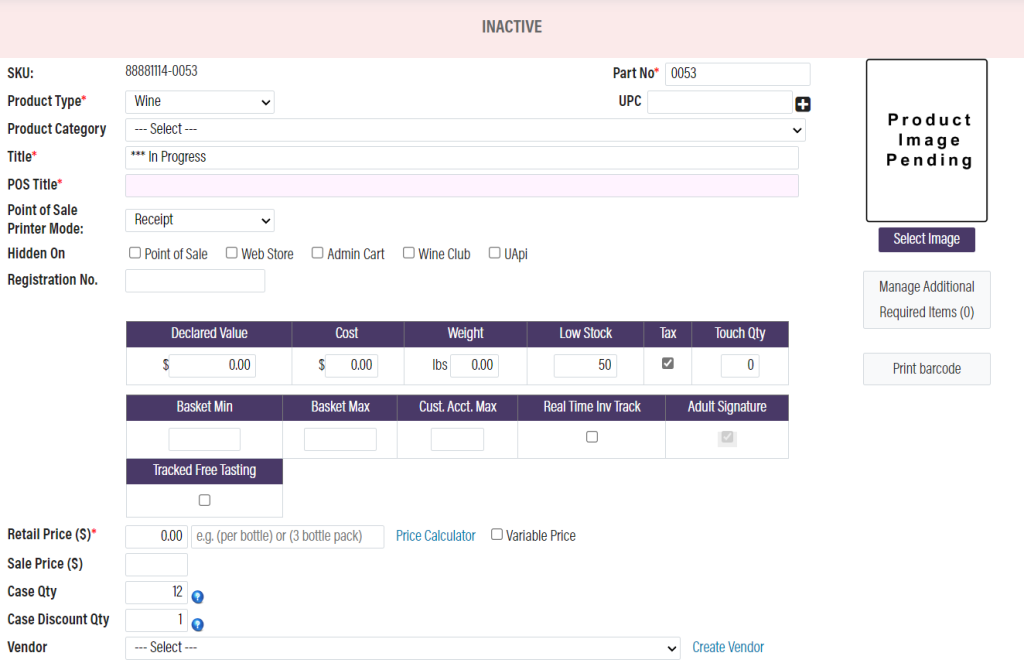
Product Type: The product type helps OrderPort to set up the product properly, and for you to gain access for type specific setup settings. For example, wine products will have a whole new tab for configuration called Wine Specs. Physical products have the option for adding color and size customizations.
UPC (Universal Product Code): You can add UPCs using this option. The UPC can be printed as a barcode using the Print Barcode option under the product image. If a product has multiple UPCs, you can add more than one using the + button.
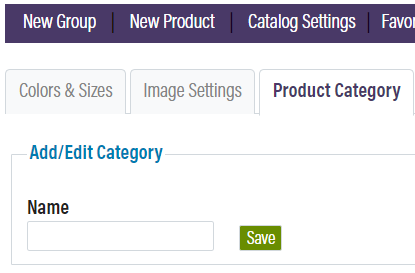
Product Category: If you want to classify products for reporting purposes, you should utilize product categories. To customize your categories, go to the Catalog Settings tab, then go to the Product Category section.
Title: This is the title of the product. The POS Title is the title it will display within the OrderPort app. You may want to use a shortened version for the POS title.
Point of Sale Printer Mode: The point of sale printer mode, when changed to kitchen or bar, allows you to print this product on a kitchen or bar printer. This is a good way to make orders for food or other products that require preparation.
Weight: The weight is used for shipping purposes. The weight is necessary to estimate shipping costs.
Low Stock: When the inventory of this product hits this number, the low inventory alert will be sent.
Touch Quantity: If you’d like to charge the customer for shipping items that are more take mroe labor to handle, then you’d use the touch quantity feature. Please see the shipping module overview lesson to learn more about this.
Real Time Inventory Track: This feature is designed to prevent oversale of products especially on the webstore. When a customer adds a product to their cart, it takes it out of sellable inventory for a period of time.
Tracked Free Tasting: You may set up a loyalty program for your customers so they get a certain number of free tastings per month or year. The customer may redeem their free tasting on this product if this option is checked.
Retail Price: The retail price is the normal price you will be selling the product for.
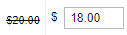
Sale Price: The sale price will override the retail price. It will cross out the retail price to demonstrate the sale. Here’s an example from the Admin Cart:
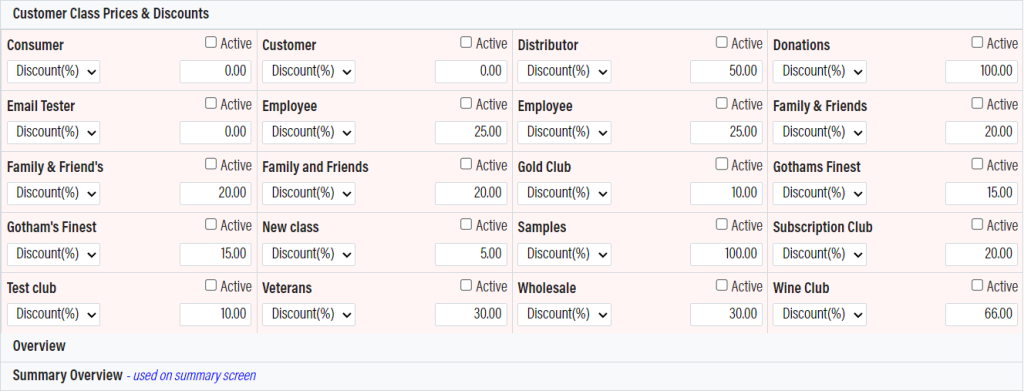
Underneath the initial configuration options, you have a few additional sections available to you. The first allows you to provide custom discounts and prices for your vairous customer classes and wine clubs.
The Overview and Summary Overview sections are displayed to the customer on the webstore, first on the product page, and then on the order summary page.
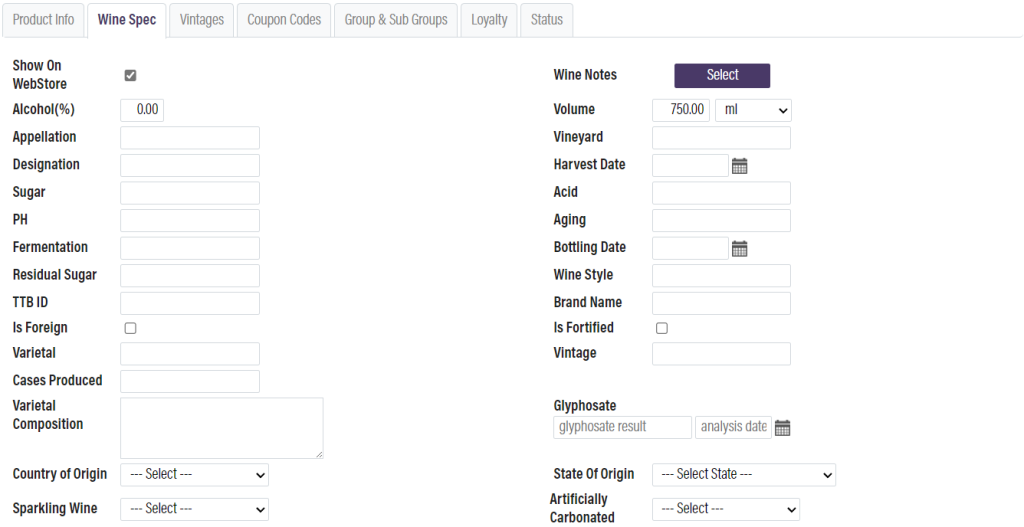
Wine Spec Tab
For wine products specifically, the wine spec tab is used for compliance and shipping purposes. The most important fields here are the Volume and Alcohol % fields. The volume is used for estimating shipping costs and for compliance. The alcohol % is used for compliance.
Groups & Sub Groups
This tab is where you configure the groups this product is in. If you’d like to learn more about catalog groups, see the Catalog Groups lesson.

Finishing the Product
Once finished with the configuration, go to the Status tab, turn the product to Active, then save the changes.
