Related Resources
In this lesson, we will review the Task Center, which is part of the Inventory module. The Inventory module is located in OrderPort admin.
The Task Center is used for managing inventory transfers between inventory locations, as well as creating invoices for when you source inventory from a third party vendor.
Page Contents
Navigating to the Inventory Task Center

The Task Center is in the Inventory module, which is in OrderPort Admin. Go to orderport.net to login.
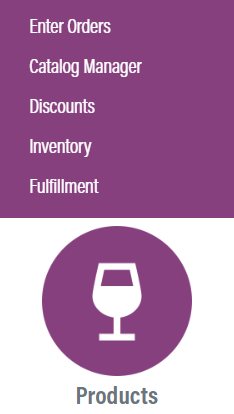
Scroll down to the bottom of the dashboard page, and you will find the Products option. Click the second option.

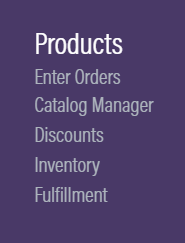
You can also hover over the three lines toward the top right of the dashboard page.
The Inventory module is under the Products column.
Next, go to the Task Center tab.

Vendors Tab and Creating a Vendor
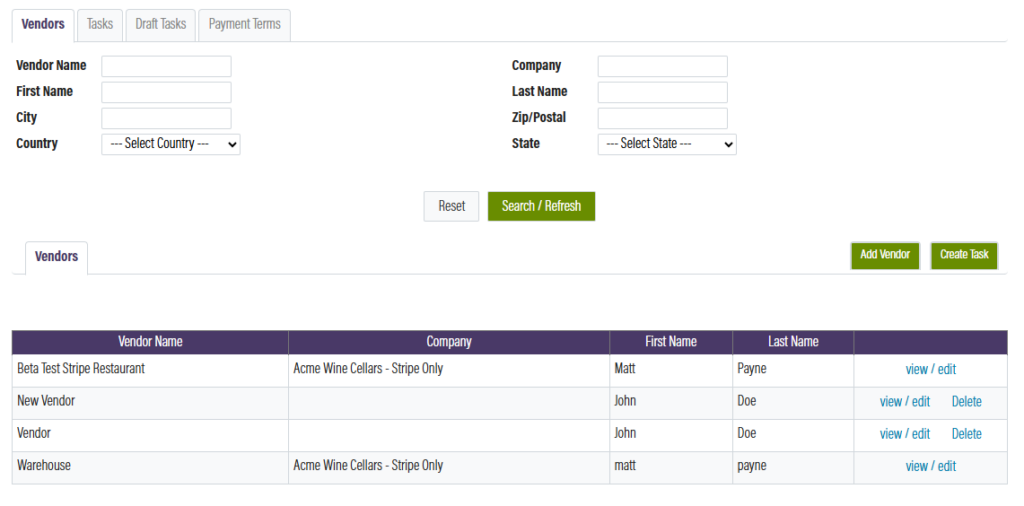
The first tab in the Task Center is the Vendors tab. This allows you to view and create new vendors.
To see your vendors, click Search / Refresh. By default, each of your inventory locations will appear here as a vendor.

You can add new Vendors by clicking the Add Vendor button. Fill out the information you’d like to save for the vendor, then click save.

Next, you can select what products you bring in from that vendor in the Products tab.

Click Include on the appropriate products and optionally add a Vendor Part number. In the catalog manager, products can be set as Vendor Products. You can filter by that here.
Make sure to save when finished.

Creating a Task
Tasks are used to track and receive inventory from your vendors.
Click Create Task, then search for the vendor. Once selected, you can add the products to the cart, then proceed.


If you need to save the task for later, you can save it as a draft.

Drafts can be viewed in the Draft Tasks tab.

Select the Ship To location, which is where the inventory will be received.

Select the order date, and the payment term. Finally, click complete.

When you complete a task, the inventory is not updated until you receive the items. You can do this in the task center.
Tasks Tab
You can view your current tasks in the Tasks tab. If you need to find a specific one, use the search options.
Each task is color coded, depending on its status.

To print out a Transfer Sheet, open the select dropdown, then click Transfer Sheet.


To receive a task, open the Select dropdown, then click receive items.

After doing a count to verify the received items, you can set the quantity and change the receiving mode.

Make sure to change the warehouse to the receiving location.

If there were no problems in the count, you can simply click receive items.
If the quantity received is lower than the quantity ordered, you can use the closed dropdown to determine how you would like to handle the task.
If you select Auto, the task will be marked as in progress, and you will still be awaiting the rest of the products. If you select Close and Return difference, this marks the task as finished and indicates that the missing products were simply returned.

Payment Terms
To set up additional payment terms for your tasks, you can use the Payment Terms tab. Enter in the details for your term, then click Save New Term.

