Related Resources
Page Contents
Modifier Overview
This lesson covers modifier setup inside OrderPort Restaurant. Modifiers allow you to offer customers modifications to food items in your catalog. They come in two forms: product modifiers and text modifiers.
Product modifiers allow you to charge for the modification. For example, you can use this to offer additional toppings on a salad and charge extra for it.
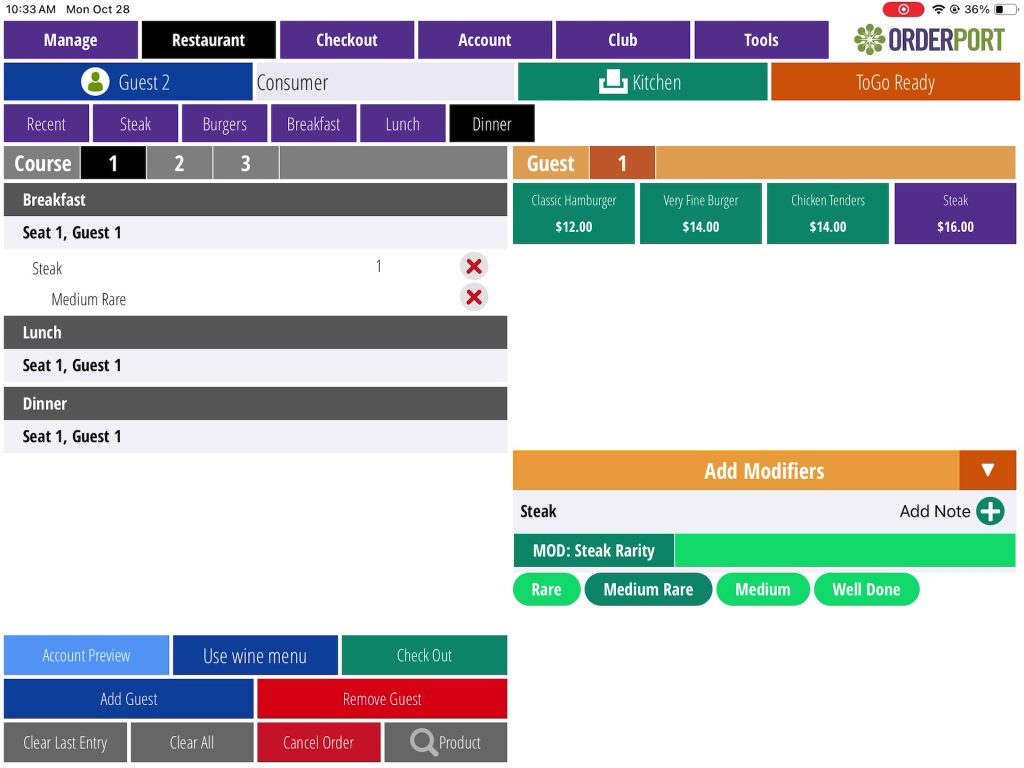
Text modifiers are much simpler to set up, but they do not come with an extra charge. Steak temperature is a good example of text modifiers.

Both are set up on OrderPort admin.
Log in to OrderPort admin to get started.
Enter the Catalog Manager
To get started setting up modifiers, enter the Catalog Manager.

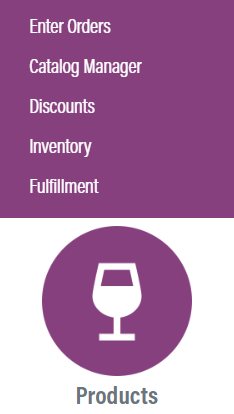
The Catalog Manager is in the Products category.
Scroll down to the bottom of the dashboard page, and you will find the Products option. Click the Catalog Manager.

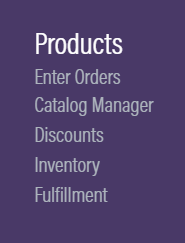
You can also hover over the three lines toward the top right of the dashboard page.
The Catalog Manager module is under the Products column.
Create a Modifier Group
Click on New Group and select Restaurant.


Give the group a name that includes “MOD”, then select the group type. Use the Modifier option to set up product modifiers, and Text Modifier for text modifiers. Your selection will alter the setup process. Once you choose the group type, click Save Changes. If you are setting up a text modifier, please skip to the Text Modifier Group Setup section.

Product Modifier Group Setup
To start adding products into your product modifier group, click New Product.

Change the Product Type to physical.
For the Title, you should include “MOD” so that you can easily identify this product as a modifier product. You can leave it out from the POS title.
Change the Point of Sale Printer Mode to either Kitchen or Bar, depending on what items you are modifying. If you are using this modifier group to customize kitchen items, select kitchen. If you are using it to customize bar items, select Bar.

If you need help setting up the rest of the product, please see the Creating an Item lesson.
Once you have finished setting up the product, go to the Group and Subgroups tab and add it to the Product Modifier group. Finally, set the product as active. Repeat this process for all product modifiers you’d like to include in the modifier group.


Please do not link any of the modifier items or modifier groups to a printer in the Point of Sale module. If you do not need to setup text modifiers, please skip to the Linking Modifier Groups section.
Text Modifier Group Setup
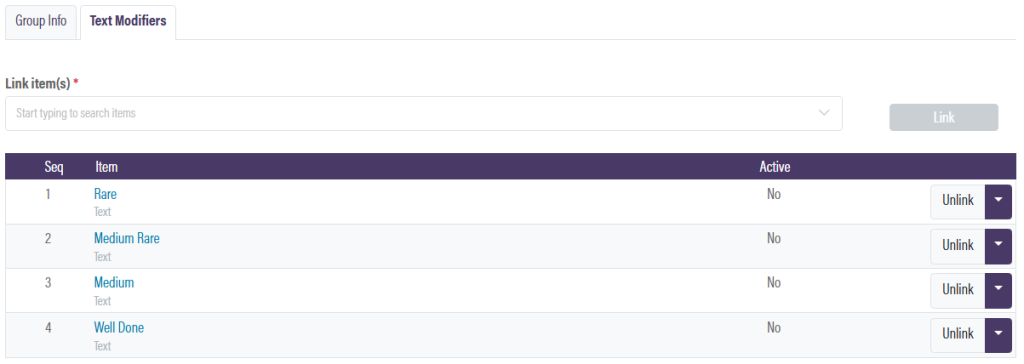
To add text modifiers to the modifier group, go to the Text Modifiers tab. Next, start typing the modifiers you’d like to link. Once you are finished adding the items, click “link” and save the changes.

Linking Modifier Groups
Now that the modifier groups are setup, you can link them to other groups. Click the Groups button on the top right.

Next, view Restaurant groups. Find the group you’d like to add the modifiers to, then click view / edit.

If you do not have any groups setup, please see the Catalog Groups lesson.
If you created product modifiers, go to the modifiers tab. For text modifiers, go to the Text Modifiers tab. Under Link items, search for the modifier group you created and link it. Make sure to save the changes.

