Related Resources
This lesson covers how to manage warehouses and conduct inventory adjustments using the Inventory Module. The Inventory module is located in OrderPort admin.
Page Contents
Navigating to the Module

The Inventory module is in OrderPort Admin. Go to orderport.net to login.
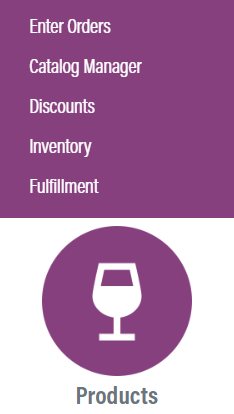
Scroll down to the bottom of the dashboard page, and you will find the Products option. Click Inventory.

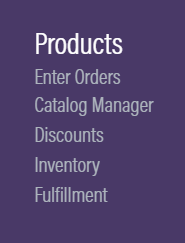
You can also hover over the three lines toward the top right of the dashboard page.
The Inventory module is under the Products column.
Warehouse Selection
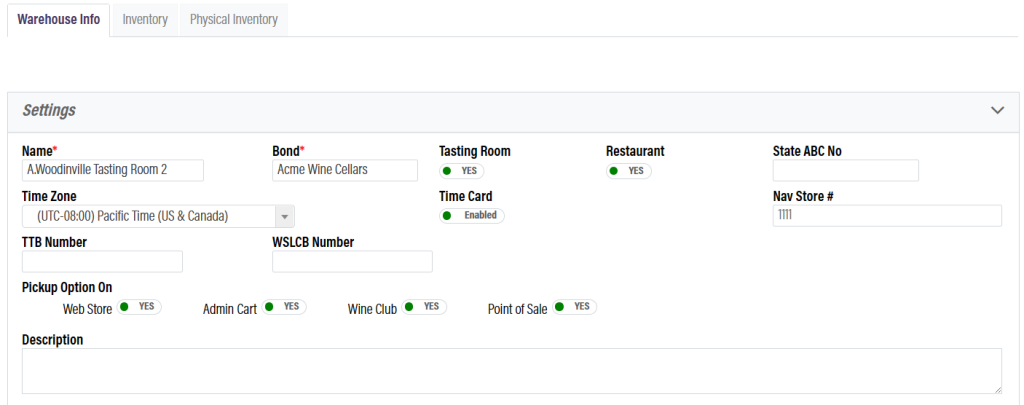
Here, you will see a list of all your current warehouses and tasting rooms. To make a warehouse the default ship-from location, click on the “Make Default” option. To further configure a warehouse, click view / edit. From here, open the Warehouse Info tab. You can create a new warehouse location by clicking the Add New button.

Warehouse Info

This is where you will find all the configuration options for your warehouse. Every warehouse will have a name and a bond.
You have an option to turn this warehouse into a tasting room, but please note that each additional tasting room will cost you additional charges.
The next important section is the time zone. You should make sure this is accurate to the location of your warehouse. The State ABC No., TTB Number, and WSLCB number are for compliance for various regulatory bodies.
The pickup options allows you to configure whether you are accepting pickups at this location from the various order sources.
When you scroll down on the page, you will find a section to add the address and contact information for the warehouse.

Inventory Adjustments
To make inventory adjustments, go back to the Inventory tab of the warehouse.

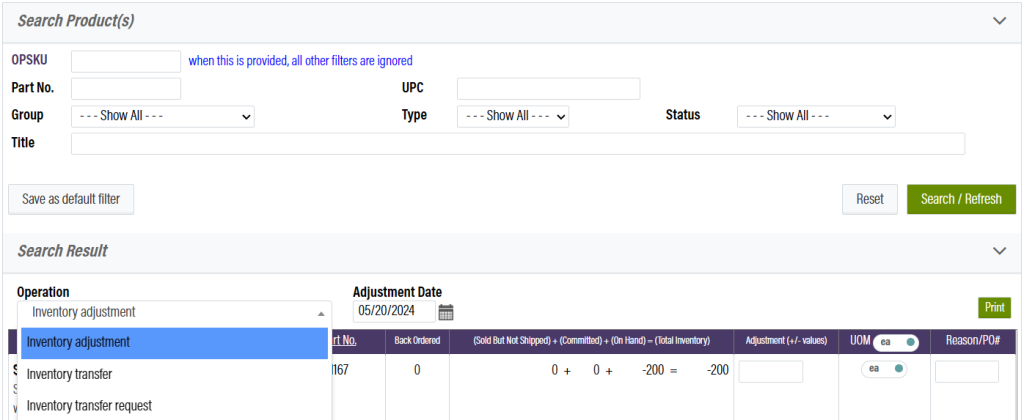
There are two ways to modify the inventory adjustment operation. You can change the mode, and you can change the adjustment date.
To do a regular inventory adjustment, select the date then input a positive or negative value into the adjustment column. Add a reason for the adjustment, then scroll down and click save.

If you select the inventory transfer option, you will need to select the “Transfer to location”. Now, you should enter a positive number into the product that you’d like to transfer. Once you click save, the amount you entered will transfer from this warehouse to the transfer to location you’ve selected.
