Related Resources
This lesson covers the workflow for taking orders on the OrderPort Point of Sale system.
There are two ways to start an order. You can tap on Start to make an order for a guest without an account, or you can search for the customer’s account using any number of the four fields. Once you find their account, tap on their name to start an order.
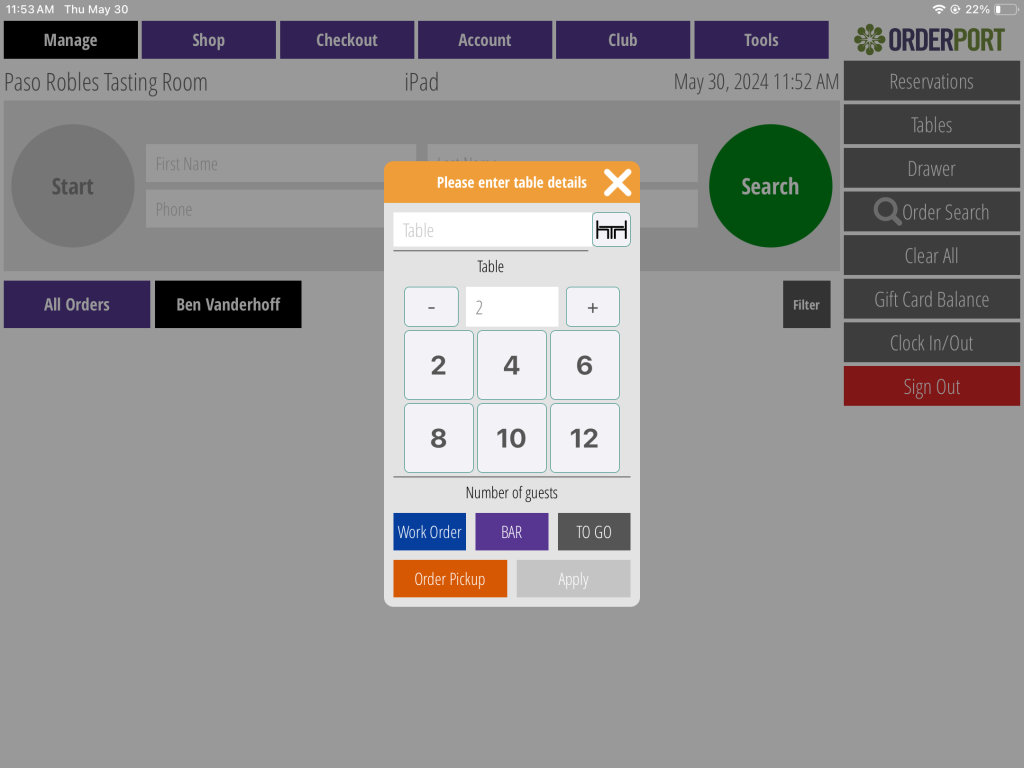
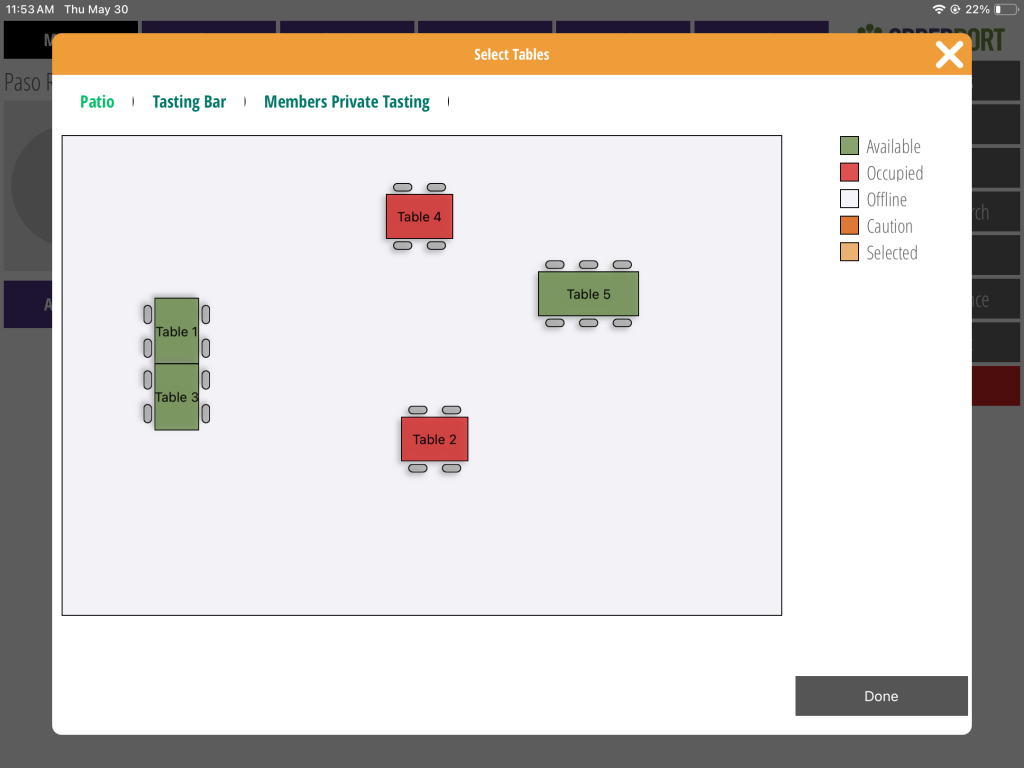
Next, if you have table maps enabled, you can select the number of guests you’re seating as well as the location. Tap apply to proceed to the next page.
From here, you will see your active Point of sale Groups and the products organized into each group. To add something to the customer’s order, you can either browse the categories, or you can search for the product using the search feature to the right.
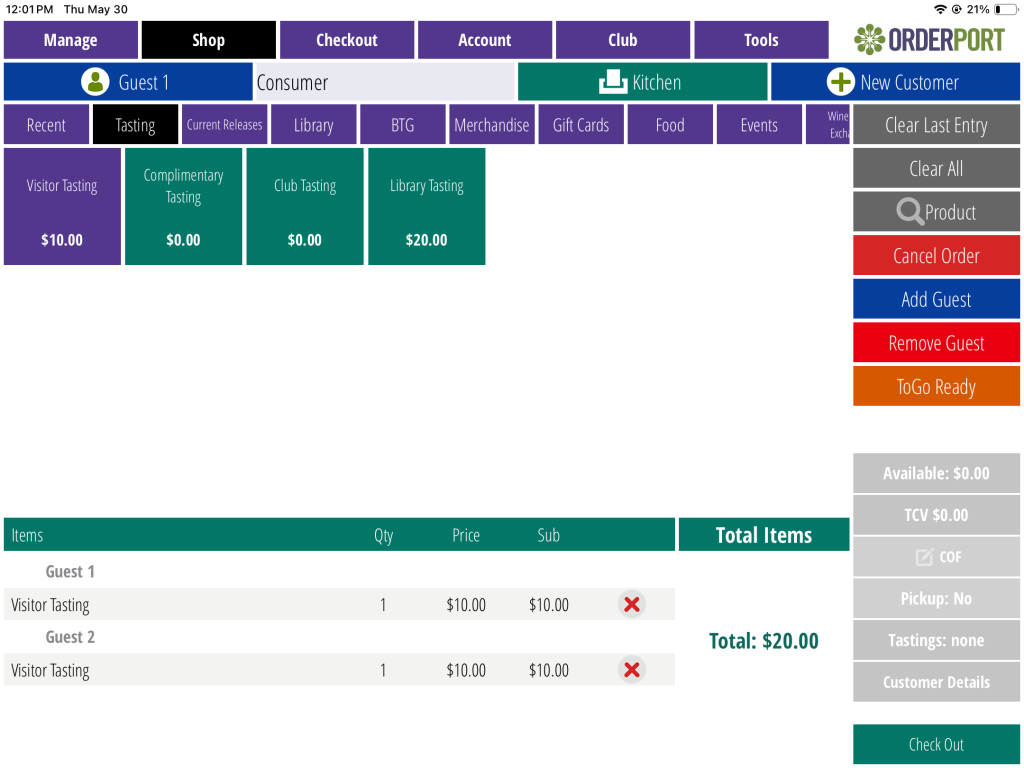
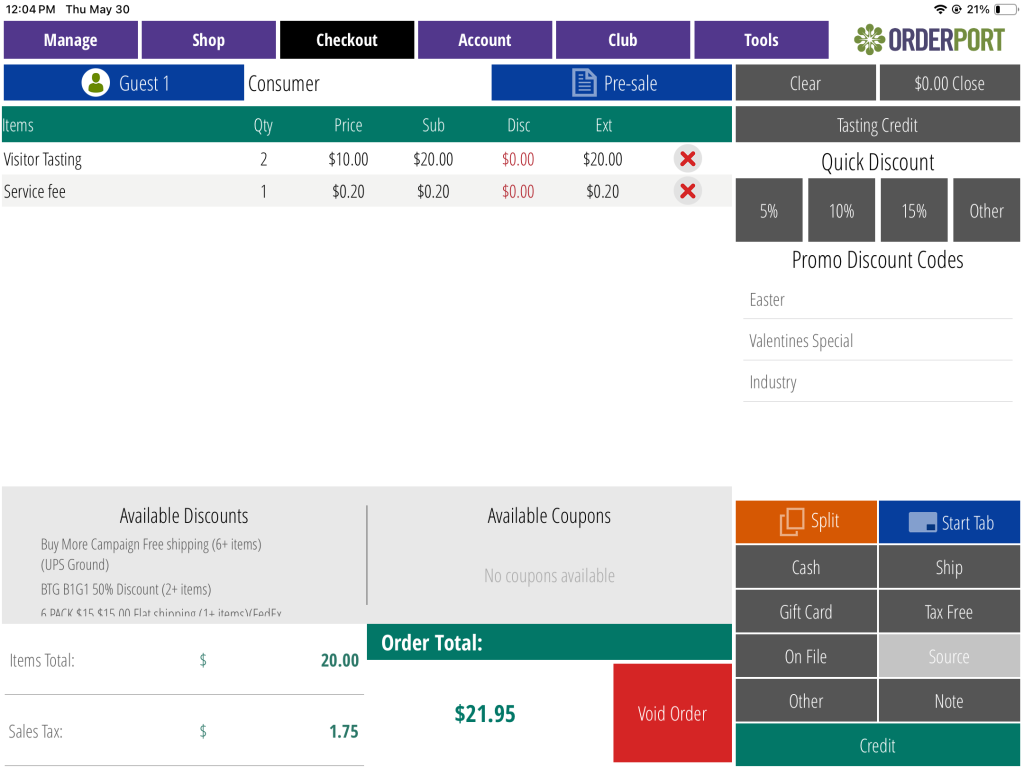
You may go back to the Manage page to start new orders at any time and come back to this one by tapping on the order circle. When the customer is ready to pay, proceed to the checkout page. To take the payment, you can use any of the payment methods at the bottom right of the page.
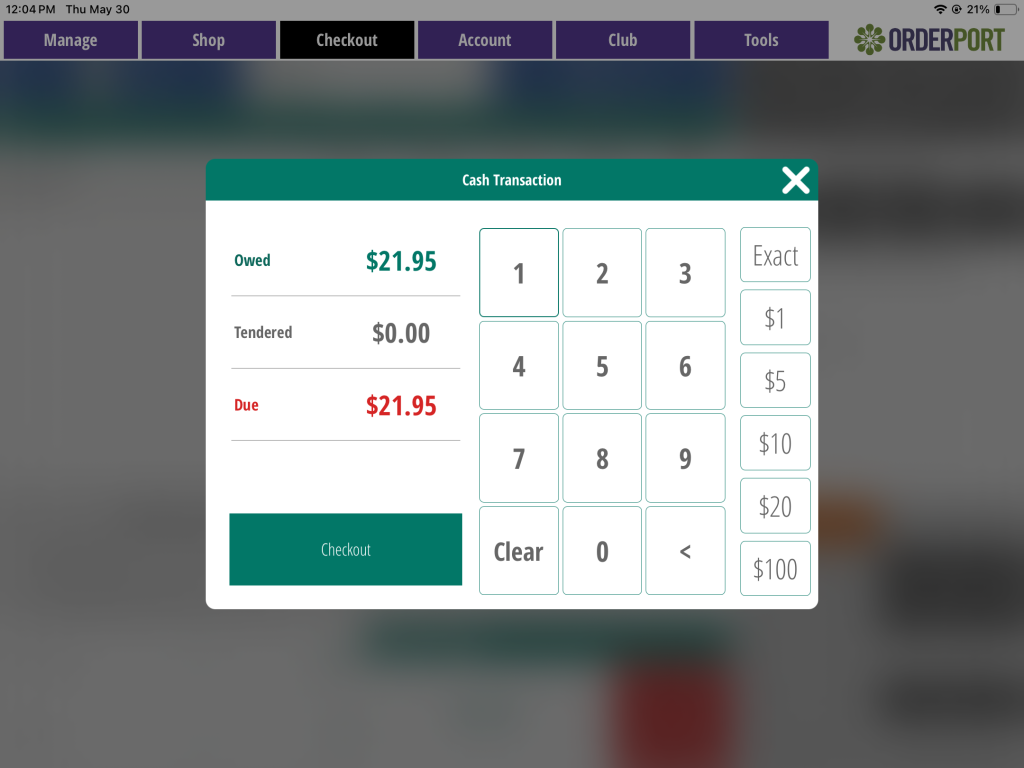
When you select the Cash option, you will see how much money is owed, and how much the customer has paid. The amount of cash tendered can be specified on the right using the dollar amount buttons. The Exact button automatically inputs the amount of money owed. The Change section shows you how much change the customer will need to receive. Tap checkout when finished.
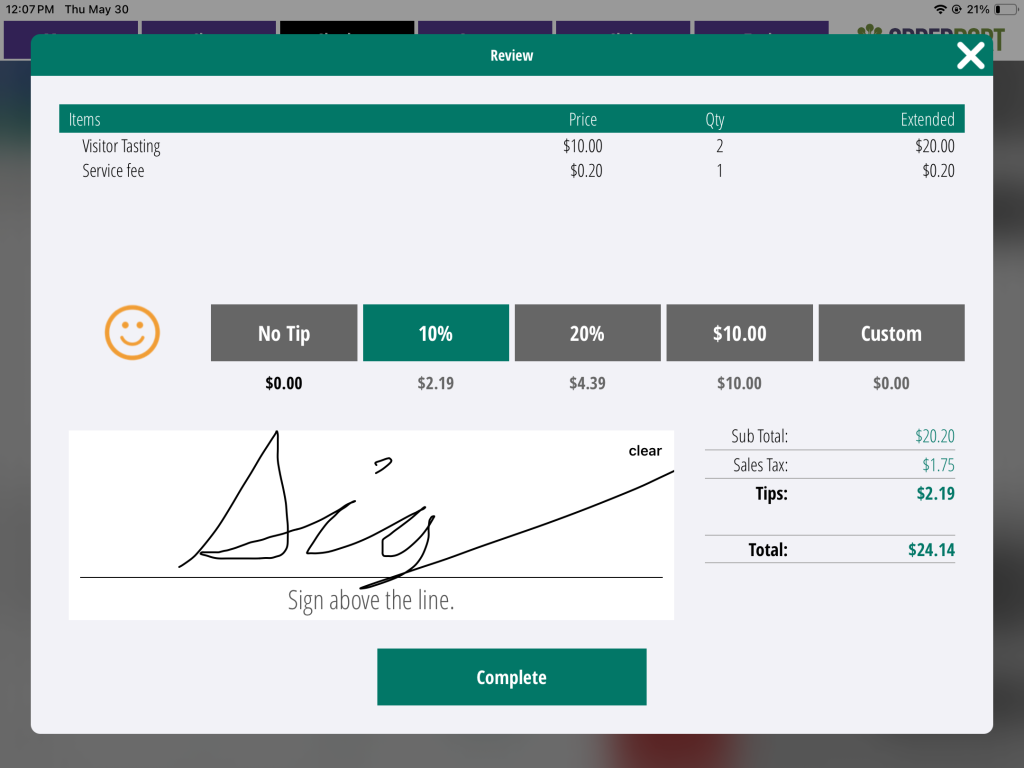
When you select the Credit option, the card will be scanned or keyed in, depending on whether you have a reader connected. The customer may also give a tip.
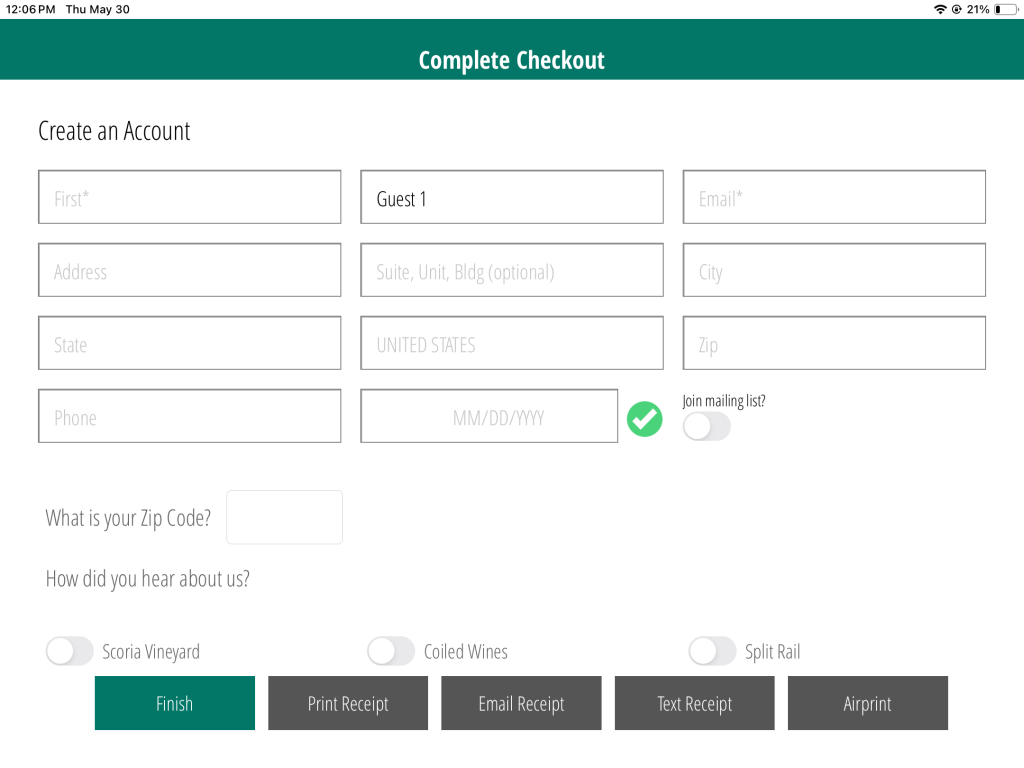
At the end of the payment, the option to print the receipt will appear. If the customer does not have an account, they will have the opportunity to create a new one.
