Related Resources
This lesson covers the reservations booking and management workflow on OrderPort Admin. If you need help setting up the module, please see the reservations setup lesson.
Navigating to the Reservations Module

The Reservations module is in OrderPort Admin. Go to orderport.net to login.
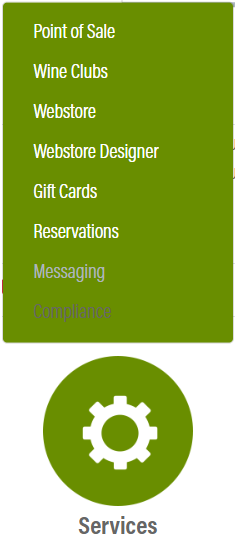
Scroll down to the bottom of the dashboard page, and you will find the Services option.

You can also hover over the three lines toward the top right of the dashboard page.
The Reservations module is under the Services column.
Booking Reservations
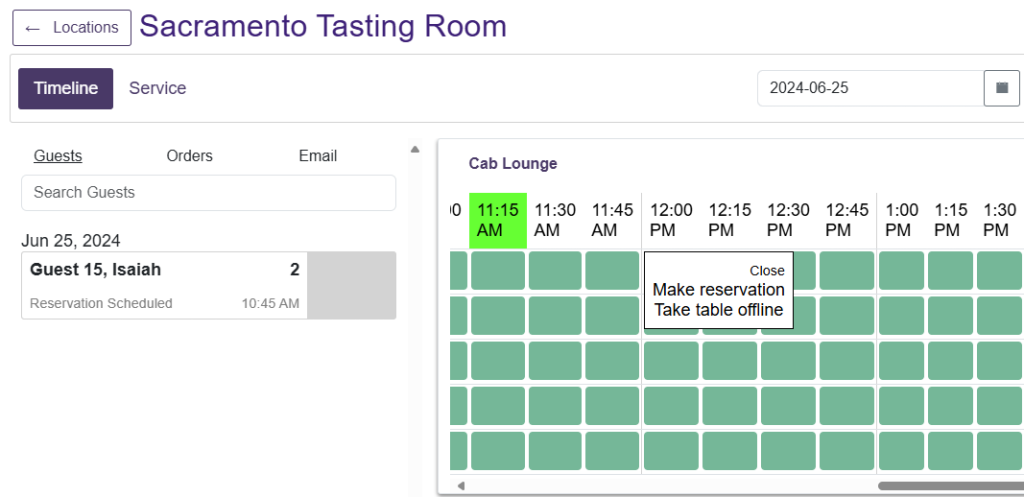
Go to the Locations tab, then click Manage Reservations for the desired area.

To change the date you are looking at, click on the calendar icon. To book a reservation, either click the green booking icon to the top right or click on a green square in the timeline.

Each row of squares on the timeline represents a table. Using the timeline to book a reservation will assign the table to the reservation.

Once created, you will see the reservation appear on the left for the current date.

To quickly assign or reassign the table for a reservation, take a reservation and drag it onto the timeline at the table and time desired.
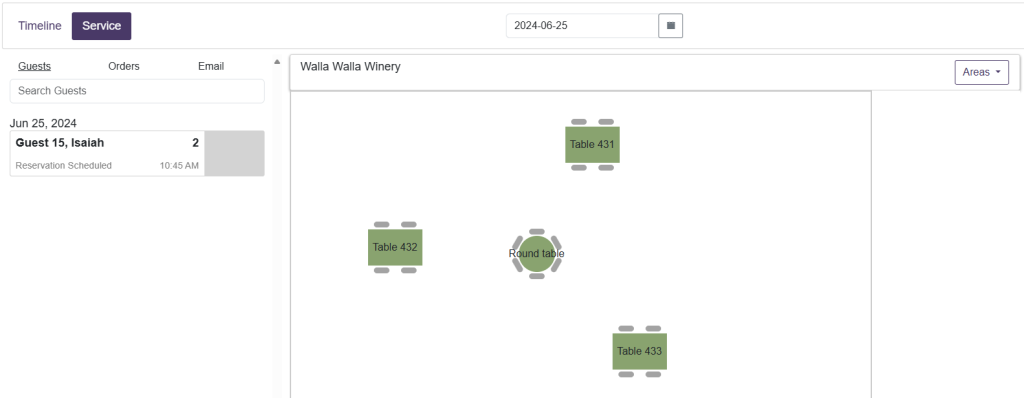
You can also switch the view to Service for a more visual overview of reservations. Change the area you are viewing by clicking on the Areas dropdown to the top right.
Dragging a reservation onto a table will reassign the table for the reservation without modifying the date.

