This lesson walks through the setup process for the OrderPort Reservations system. The setup process is done on OrderPort Admin. If you do not have the Reservations module enabled, you can reach out to helpdesk@orderport.net to request more information.
Page Contents
Create a Reservation Group in the Catalog Manager
The first step for setup is creating a reservations group in the catalog manager.
This group is necessary for customers to book reservations online, whether you require them to purchase products with their reservation or not.
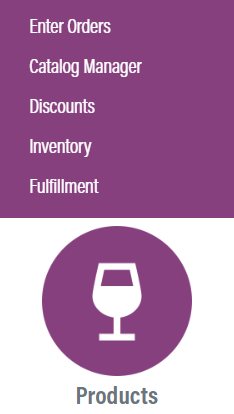
Go to the Catalog Manager, which is in the Products category.
Click New Group, select Webstore, then name the group “Reservations”.


The Active toggle adds a button for customers to navigate to the reservations page. If you leave it off, you will need to provide customers the URL in other ways.
Change the web store group type to Reservations 2.0. Now, click Save Changes.

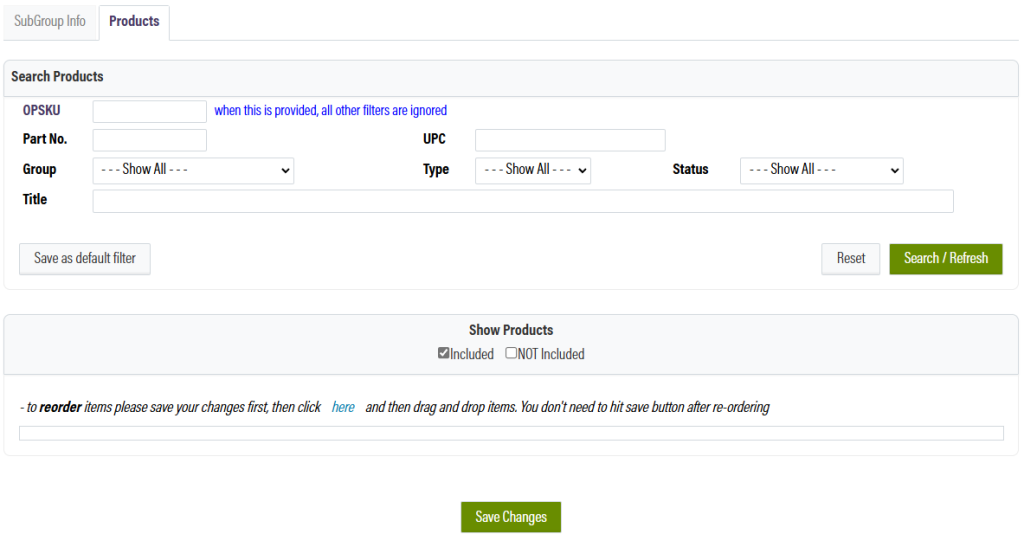
If you would like to allow customers to preorder products or tastings, go to the Products tab and add the products you’d like to make available.
Reservation Area Setup
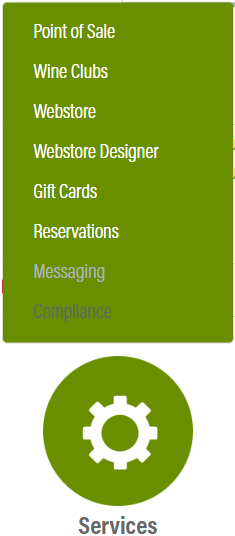
Next, go to the Reservations module, which is under the Services category.
Go to the Locations tab and click Edit Location Details on the tasting room you are setting up.


The content you put here will be displayed to the customer on the webstore. Upload an image and optionally add a description and details. The description is displayed right next to the image and right under the location title. The details are displayed when a customer clicks on the image.


Adding an Area
Next, go to the Settings tab. Select the tasting room you’d like to set up using the dropdown on the left.
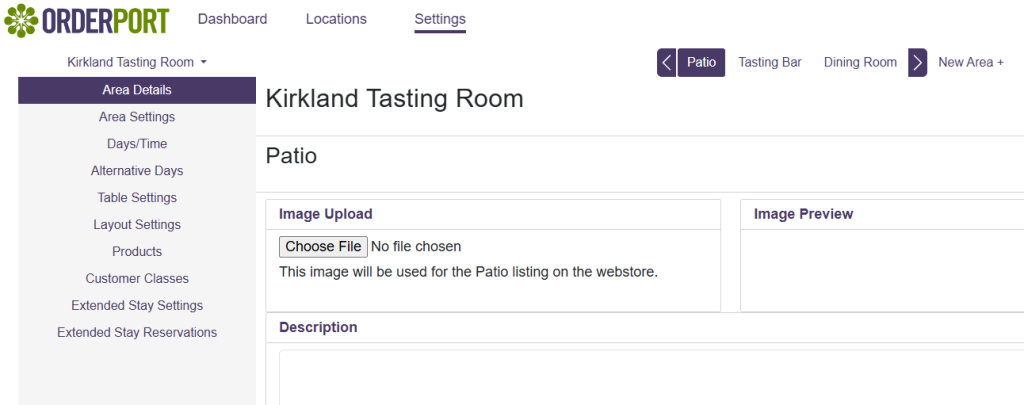

Click New Area and give it a name. The image, description, and details options will behave the same way as the tasting room info.
Area Settings
Next, go to the Area Settings tab.
You can edit basic area settings like the name, default reservation duration, capacity, and max party size.
The “Disable Standard Reservations” is used to prevent reservations from being booked from this area.
The “Extended Stay Reservations” option enables the Extended Stay feature. This allows customers to book reservations for overnight stays. Once enabled, you will see two new tabs appear, where you may set up the extended stay locations and manage reservations.
The last option allows customers to book reservations 15 minutes off the hour. For example, a customer can book a reservation for 4:15, where before, they would have to pick between 4:00 and 4:30.


Days/Time
The Days/Time tab is used to set the normal schedule for the area. If you would like to have consistent hours for all the days this area is open, you should use the global settings, otherwise, use custom.


Alternative Days
To schedule irregular online or offline periods, use the Alternative Days tab. For the offline side, you can simply select the days you’d like to take it offline for. For the online side, you can select the days, and specify the time as well. The title can be used to associate it with a special event.
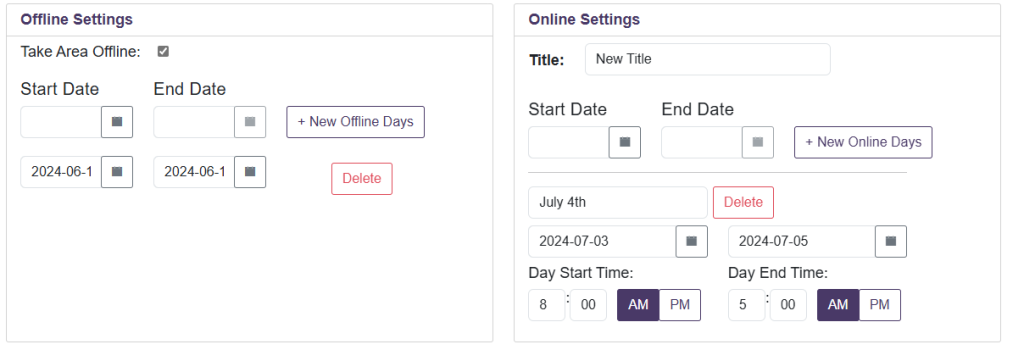

Table Settings
To map reservations to specific tables, you can use the Table Settings tab.
The 15 minute increment setting is also available here. This is the same as the setting found in the Area Settings tab.
In this tab, you can also add tables and configure them with seat count, minimum seating, and combinability. To put these tables onto a map, go to the Layout Settings tab.


Layout
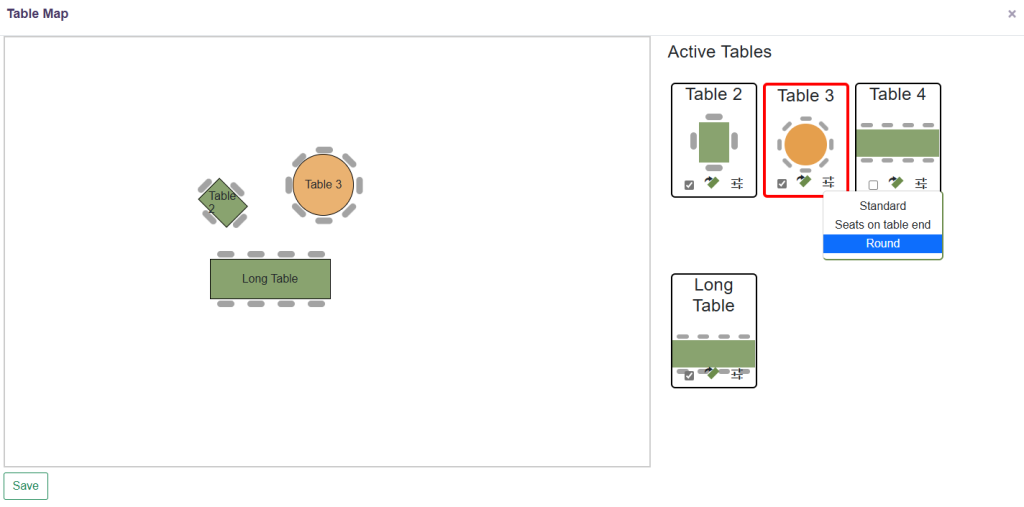
The layout settings tab allows you to set up the tables onto a map. Mapping your tables allows you to identify the tables within the physical space.
Make a new layout, then click the Table Map option. You can drag and drop these tables and do additional configuration to them on the right.



Products
The Products tab is used to configure how product purchases are done with reservations. To make products available for reservations, you need to add them to the Catalog Manager group you created earlier.
The first option allows customers to make a reservation without preordering any products. The second option requires your customer to purchase something from your catalog when making a reservation. The third option requires a purchase to be made for each guest in the reservation.


You can choose which products will be available for the customer by adding them to the selected items.
Customer Classes
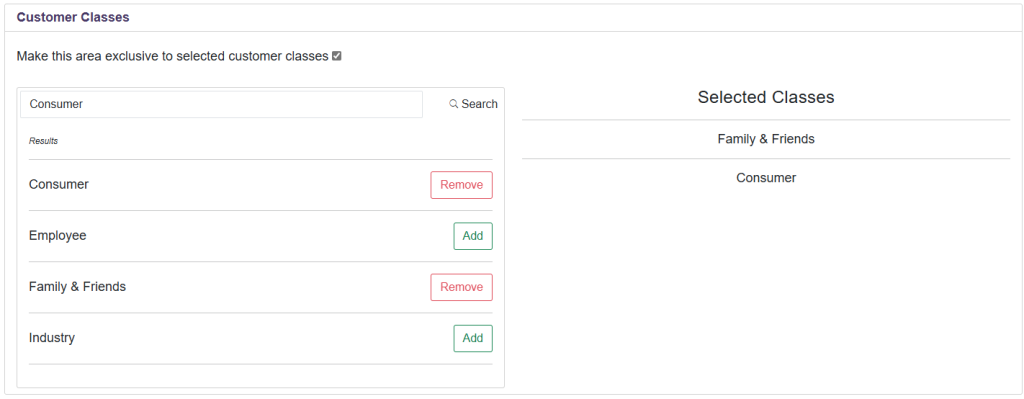
The customer classes tab allows you to choose what customer classes can book an area. For example, you may have an area you’d like to keep as a wine club exclusive area. Turn on the first checkbox, then add the desired customer classes.

Extended Stay Settings
The last two Extended Stay tabs are only available when you enable Extended Stay reservations. The Extended Stay Settings tab allows you to create new spaces for people to book. Add a name, then click New Space.


Extended Stay Reservations
The last tab, Extended Stay Reservations, displays booked reservations and allows you to add new reservations.


Reservation webstore design
Customers can book reservations by going to the Reservations page of your webstore. If the reservations group in the catalog manager is active, they can simply use the button in the header. Otherwise, they will need a direct link to the URL.The process for the customer is straightforward.


You can customize the text describing your reservations process in the webstore designer.


Next, open the Reservations page in the designer and click Edit.


Click “Zones” in the top right and click “Above content on this and child pages”.


Select OP Text. Add the text, then click “Save and publish”.


To edit the thank you message, open the Reservation Thank You page, click edit, and edit the main text.


Accepted Methods
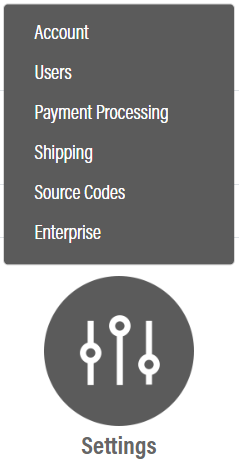
To adjust what payment methods are accepted for reservation purchases, go to the Payment Processing Module, then go to the Accepted Payment Methods tab. Here, you can adjust what payment methods are accepted.
