
Related Resources
Vinoshipper can integrate with OrderPort so that you can manage all DTC orders in one place. This lesson is an overview of the integration setup process.
Page Contents
Enabling the Integration
Before the setup process can be done, you must send a request to OrderPort to turn the module on. In order to do this, you must have a Vinoshipper account already. Please contact our support line at 206-464-1151 and request for the Vinoshipper module to be enabled.
Navigating to the Vinoshipper Module
The Vinoshipper module is in OrderPort Admin. Go to orderport.net to login.
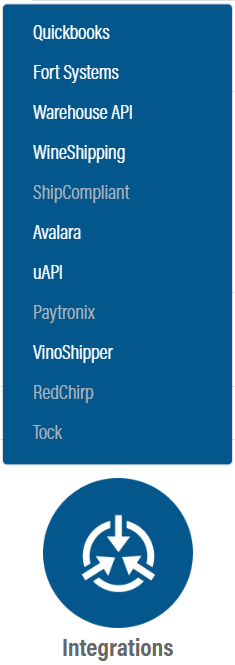
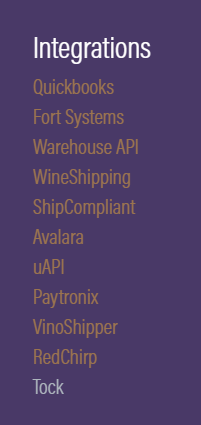
Scroll down to the bottom of the dashboard page, and you will find the Integrations option. Click Vinoshipper.
You can also hover over the three lines toward the top right of the dashboard page.
The Vinoshipper module is under the Integrations column.
API Connection
The API key and secret key are retrieved from your Vinoshipper account. Once you input that, you can save the changes.

Product Mapping
In order for the integration to work properly, OrderPort products must be mapped to Vinoshipper products. This can be done in one of two ways.

If you use the SKU option, you will need to make sure that within each product in Vinoshipper, the OrderPort SKU is mapped to it. If you use collections or Vinoshipper multi-packs please use the SKU option.
If you select VS ID, you’ll use the Catalog page to map your OrderPort products to your Vinoshipper products.
Once you pick a product mapping method, you should map the products. If any product remains unmapped, then it will cause errors.
State Settings
Finally, you will need to select all the states which Vinoshipper will be managing the compliance for. With all these states, OrderPort will use the Vinoshipper API to get shipping rates, calculate sales tax, and get shipping labels.
Once all this is done, set the integration status to Enabled and click Save.

Customer Sync
Vinoshipper needs you to verify the age of the customers you are sending wine. The most efficient way would be to do a bulk customer upload for your Wine Club customers. If you have any trouble with the steps below, send a ticket to Helpdesk@OrderPort.net
Go to Operations > Reports > Standard Reports > Other Reports > Customer Account > Filter just the Wine Club members > Use the Vinoshipper Importing Existing Club Members documentation > Open the “190822 VinoShipper Customer Import v1 2” file > Fill out the information needed to import the data > Make sure every customer has a valid DOB to ship alcohol to > Send the filled out file to CustomerService@Vinoshipper.com and ask for them to upload your file.
Important Notes
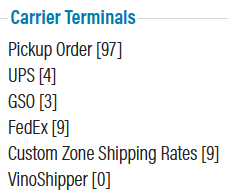
1. Once the integration is online, all orders with compliance handled by Vinoshipper will land in the Vinoshipper carrier terminal in fulfillment.
2. Vinoshipper does not allow for their orders to be edited. Because of this, anytime you need to change something on a Vinoshipper order, you’ll have to delete the order in OrderPort and Vinoshipper, then recreate it with the edits inside OrderPort. When deleting the order in OrderPort, you can avoid credit card fees by refunding to OrderPort’s member account.