
Related Resources
The designer is a simple drag and drop system used to create marketing emails. A design can be used as a marketing email and a wine club release notification.
Page Contents
Navigating to the Designer

The Wine Clubs module is in OrderPort Admin. Go to orderport.net to login.
Scroll down to the bottom of the dashboard page, and you will find the Services option. Click the second option.
You can also hover over the three lines toward the top right of the dashboard page.
The Wine Clubs module is under the Services column.
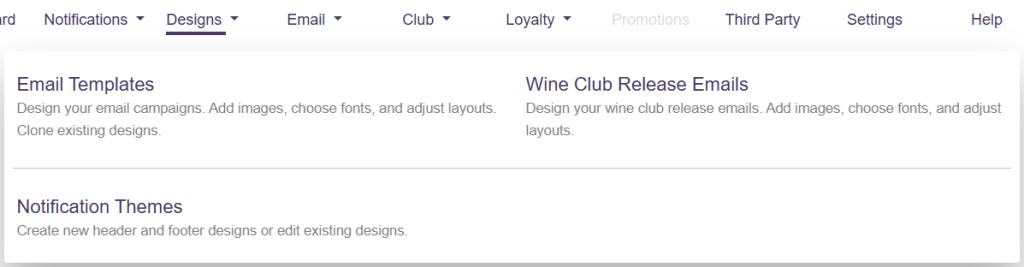
From here, click on the Designs dropdown. We will be using the Email Templates option.
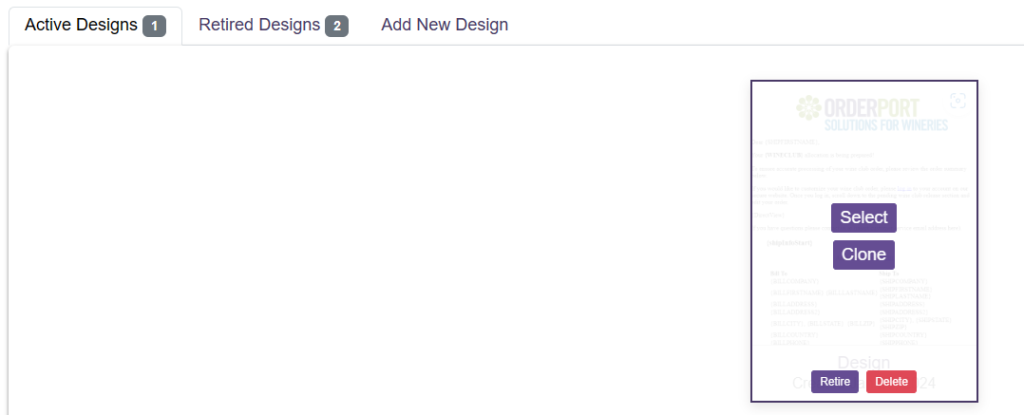
From here, all your active designs will be readily available. You can get to the designer by adding a new design, or you can edit an existing design by clicking Select.
Creating a design
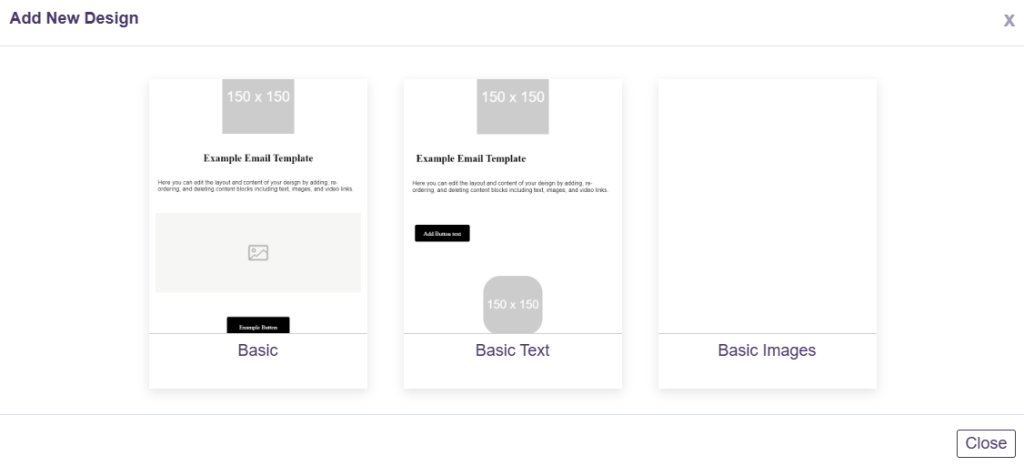
Clicking Add New Design shows a window with preexisting templates to select from.
Design Configuration
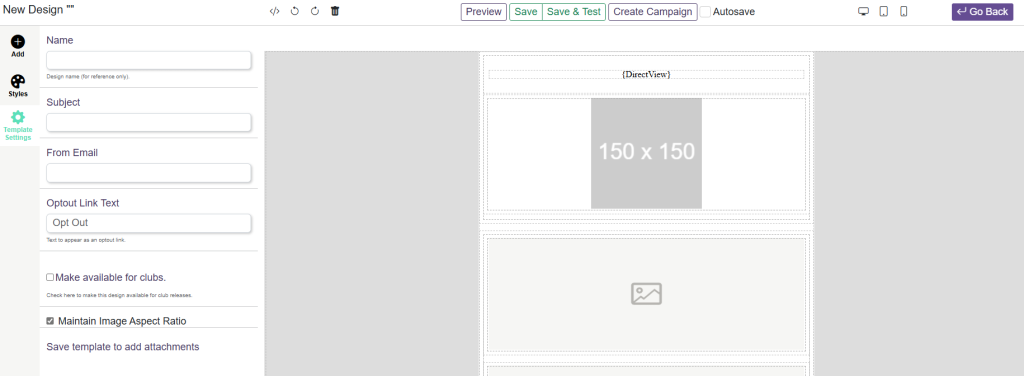
The configuration options for the email design are on the left of the screen. This includes the name, subject line, the from email, and the optout link text. The optout is a link that the recipient can use to unsubscribe or opt out of future marketing communications.
The checkbox is for wine club release emails.
The Maintain Image Aspect Ratio option makes it so that when you change the width or height of an image, it will adjust the other value to keep the original aspect ratio.
You can enable autosave once you add a name, subject, and from email. Enabling autosave will automatically save the design every minute.
Using the Preview button will hide the dotted lines on the email.
Creating and Editing Designs
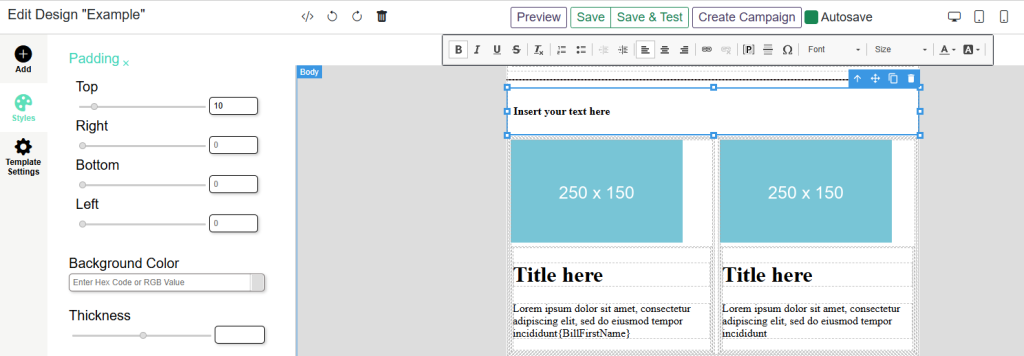
When the mouse is hovered over the design preview, it will outline each element so that the structure of the design can be viewed. It is a drag and drop system, so these elements can be moved around. When clicked, the elements can be modified in the Styles tab to the left.
Adding New Elements
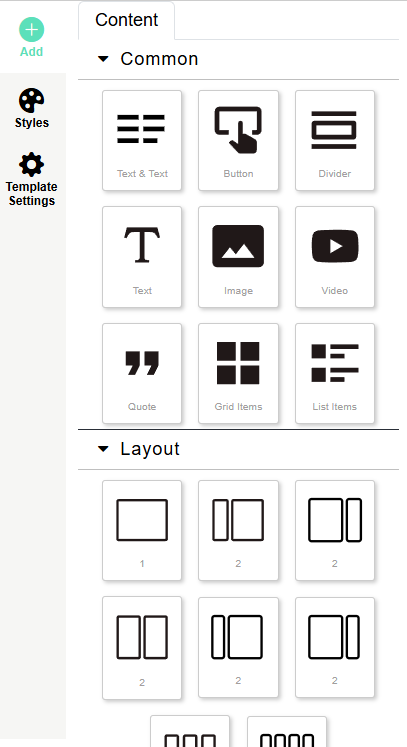
The Add tab to the left is used to insert new elements. There are two sections here: Content and Layouts. Layouts are used to create structures in the email which may be filled with content.
To add these to the design, drag and drop them into the preview.
Be careful when using the button element as it may fail to display properly on some email providers, such as Outlook and Gmail.
Images
When an image element is added to the design, it will be blank. To add an image to the element, double click it.
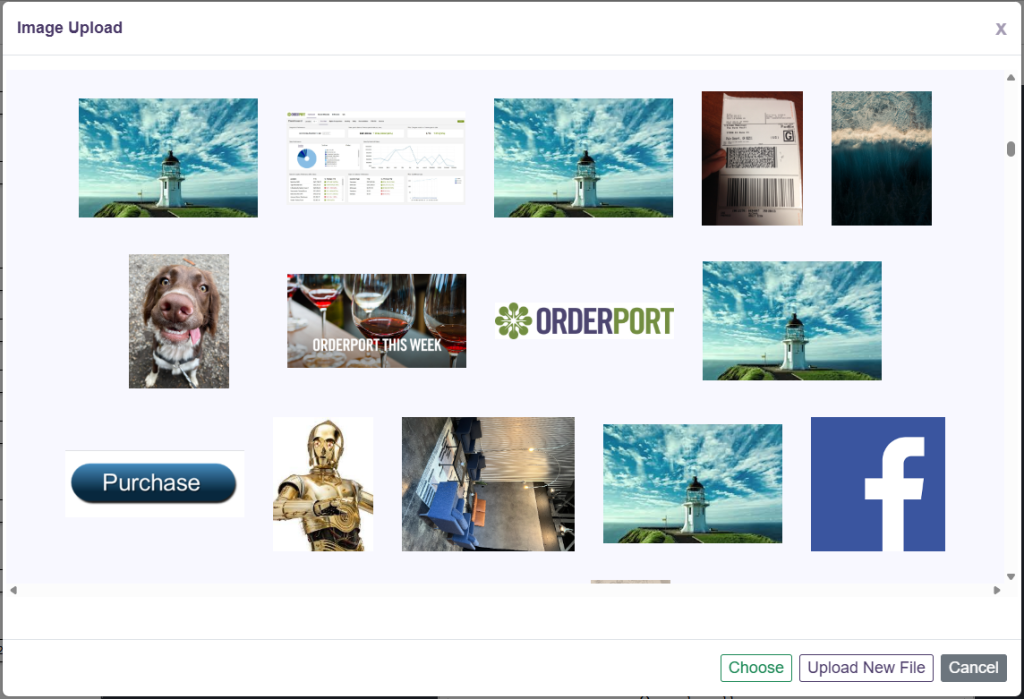
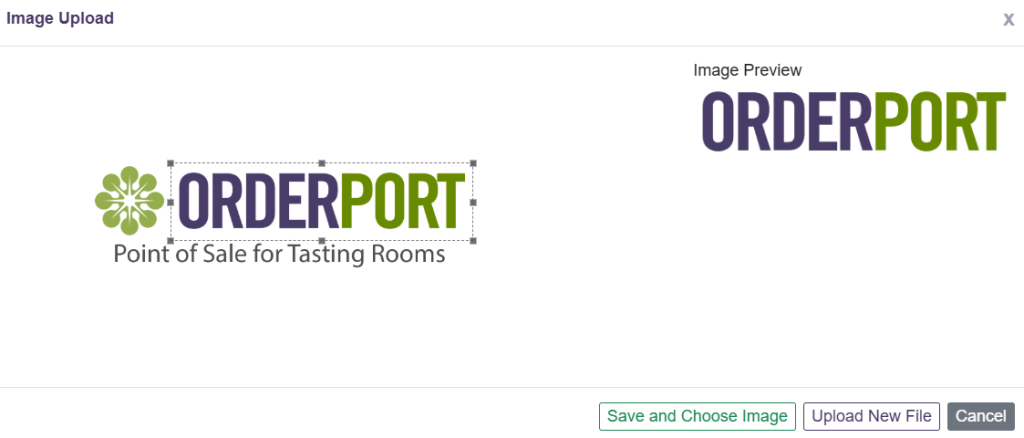
When you first upload an image to the Designer, you can crop the image.
Placeholders
Placeholders can be inserted into any of the text elements. They help personalize designs. For example, you may want to address your customers by name. Since you are creating one design to send out to multiple customers, the placeholder will automatically use the correct information based on who is receiving the email.
The placeholder button is in the text menu.
